
Installing Odoo 8 on Linux for development (Debian 7 or Ubuntu 14.04 and 14.10)

Odoo is not just provided as a Saas (software-as-a-service), but is a real free software you can install, use, modify, improve and redistribute, as long as you keep the same license! The main repository to find the source code is github: http://github.com/odoo/odoo/. We sometimes find people asking for help about how to install Odoo, so this article may help. To be sure it really works from scratch, we'll start by installing Debian on a KVM virtual machine. If you're under Windows we'll let you choose the virtualization platform you like, because KVM is specific to the Linux kernel.
Prepare the Debian or Ubuntu machine
The very first step consists in downloading a Debian 7 Wheezy 64bit netinst image:
$ wget http://cdimage.debian.org/debian-cd/7.7.0/amd64/iso-cd/debian-7.7.0-amd64-netinst.isoYou can use an Ubuntu minimal image as well. No need to download the full CD image. You can also use the version 14.10, we checked it also work :
$ wget http://archive.ubuntu.com/ubuntu/dists/trusty/main/installer-amd64/current/images/netboot/mini.iso
$ mv mini.iso ubuntu-14.04-amd64-mini.iso
Then we create a 5GB virtual disk as a copy-on-write file. Don't be afraid by the size, the virtual disk takes less than 200kB of physical space on your disk at the beginning.
$ qemu-img create -f qcow2 hda.img 5G
Then we can start our virtual machine, booting from the Debian ISO image (kvm may be called qemu-kvm):
$ kvm -m 1024 -hda hda.img -boot d -cdrom debian-7.7.0-amd64-netinst.iso -localtimeor for Ubuntu :
$ kvm -m 1024 -hda hda.img -boot d -cdrom ubuntu-14.04-amd64-mini.iso -localtimeWe get the nice boot up screen of either the Debian installer or Ubuntu installer:
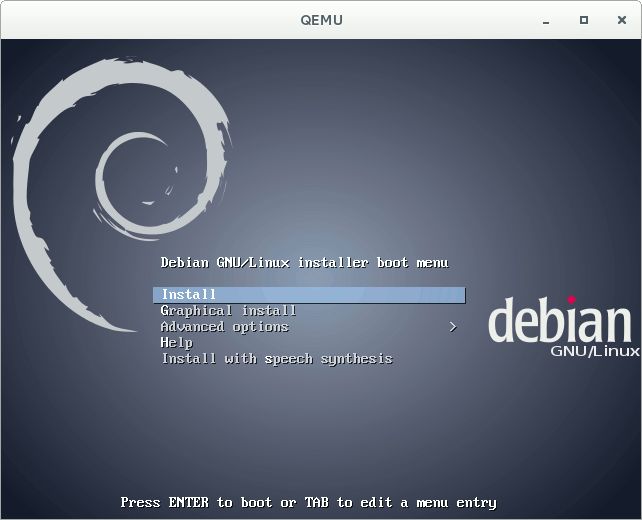
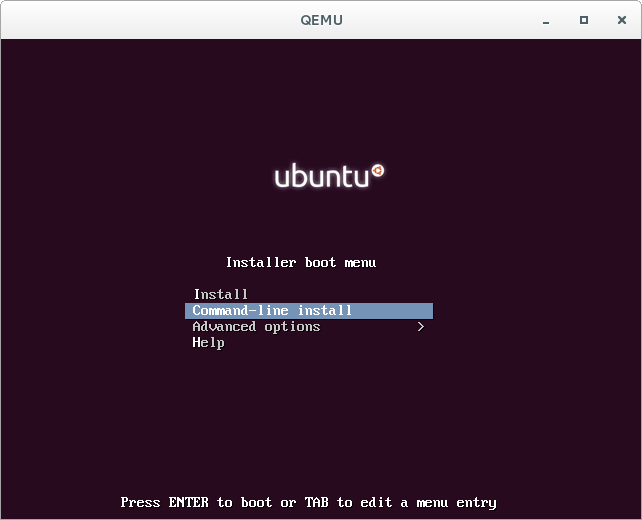
We won't explain more how to install Debian or Ubuntu as it's not the main topic of this howto. If you just want a basic test installation and not a production system, you can confirm all the default values.
When the installer asks what packages to install, just remove everything and only keep the last option (base system tools).
One the installation is finished and it reboots back to the installer screen, stop the virtual machine and boot from the hard disk. And we redirect the port 8069 to be able to use Odoo from the host system :
$ kvm -m 1024 -hda hda.img -localtime -redir tcp:8069::8069
Now we are ready to boot the fresh system and start installing Odoo and its dependencies.
After connecting, become root :
on Debian :
$ su -
#
on Ubuntu :
$ sudo -s
#
After this line, everything works the same, either on Debian or Ubuntu. It also works on Fedora or any Linux distribution, but in that case you'll have to find out the system dependencies by yourself.
Install dependencies (as root)
We add our repository just to get a dependency package :
# echo deb http://apt.anybox.fr/openerp common main > /etc/apt/sources.list.d/anybox.list
# wget http://anybox.fr/docs/clef-de-signature-de-paquets/at_download/file/anybox_packagers.asc
# sudo apt-key add anybox_packagers.asc# aptitude update
Install our dependency package and the database server :
# aptitude install openerp-server-system-dev-deps
# aptitude install postgresql
# aptitude install python-virtualenv
Create a system user and a PostgreSQL user :
# adduser odoo
# su postgres
$ createuser -dSR odoo
$ exit
Another useful dependency for PDF reports is the qt-patched wkhtmltopdf binary. For this, don't use the package provided by Debian! :
# wget http://downloads.sourceforge.net/project/wkhtmltopdf/0.12.1/wkhtmltox-0.12.1_linux-wheezy-amd64.deb
# dpkg -i wkhtmltox-0.12.1_linux-wheezy-amd64.deb
Create an Odoo instance
Now logout from root and connect as the new odoo user, and install our templating tool in a Python virtualenv:
$ virtualenv pyenv
$ source pyenv/bin/activate
$ pip install pip --upgrade
$ pip install setuptools --upgrade
$ pip install anybox.paster.odoo
$ paster create -t odoo_instance my_odoo$ deactivate
After answering a few questions, you can bootstrap and run the buildout :
$ cd my_odoo
$ virtualenv --no-setuptools odooenv
$ odooenv/bin/python bootstrap.py
$ bin/buildout -c buildout.dev.cfg
Now you can create a database and start Odoo :
$ createdb mydb
$ ./bin/start_odoo -d mydb --db-filter=mydb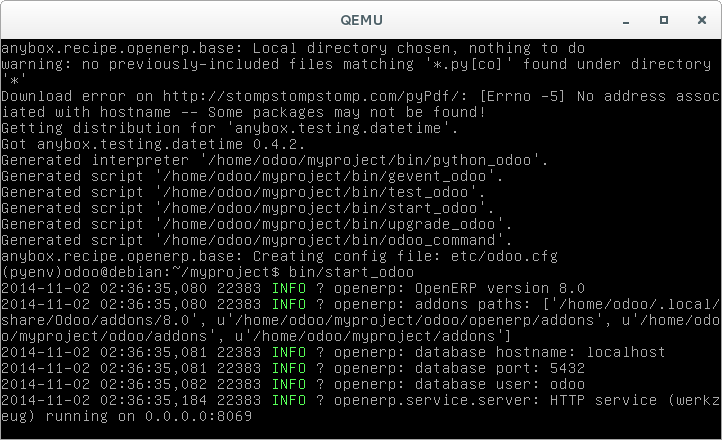
Then you can access your instance from the host machine : http://localhost:8069/
Why installing like this?
Using this kind of installation for developpers brings all the advantages of the Buildout recipe, such as an interactive Python shell with direct access to the database and models (as if you were inside a module), the ability to rebuild the instance with additionnal third-party remote modules from Git, Mercurial or Bzr repositories, the ability to freeze all versions for deployment, the opportunity to write clean upgrade scripts with version management, etc.
And everything is installed in a single directory, so you can remove it quickly or make several different installations side by side.
The different tools involved are the following (take time to read the docs) :
- The Anybox Buildout recipe : http://pypi.python.org/pypi/anybox.recipe.openerp
- Buildout itself : http://pypi.python.org/pypi/zc.buildout
- The Anybox PasteScript template : https://pypi.python.org/pypi/anybox.paster.odoo